Documentation
Add Photos and Files
Perform these steps after you locate the work order and check in. For instructions on how to check in, see Starting a Job. You can take a photo and add it to the work order, choose a photo from your camera library, or upload a document. The Requirements section contains any mandatory checklists, documents, and required before and after photos.
Step 1
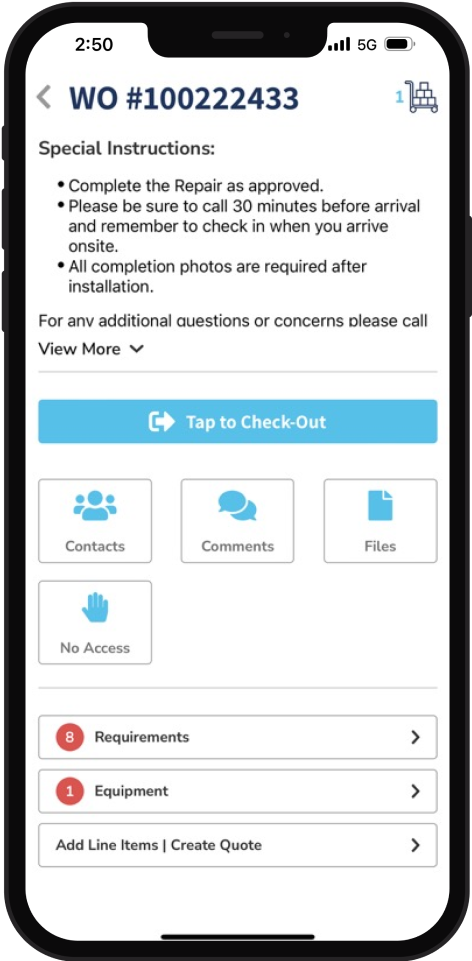
After you check in, tap Requirements to see which photos are required and if a checklist is required. A red circle indicates the number of requirements that you must complete before submitting the work order.
If you cannot access the property, tap No Access on the work order's Home Page. See Starting a Job.
Step 2
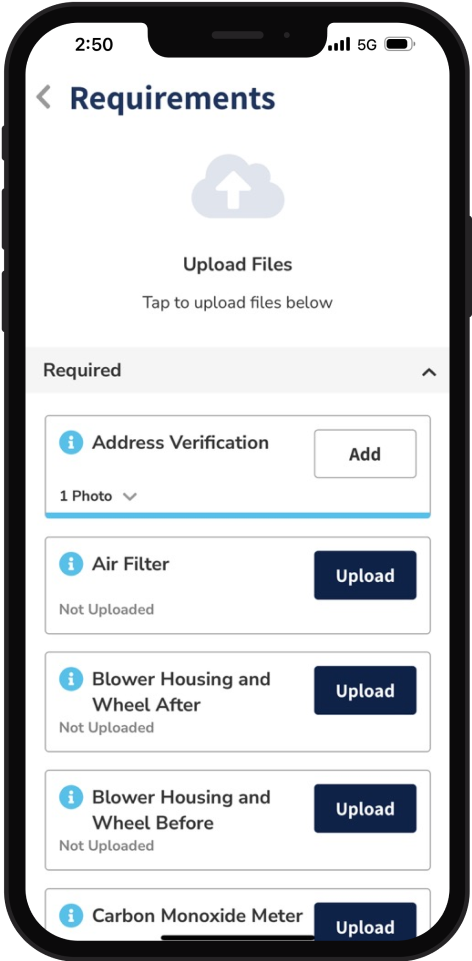
Tap Upload to add the required photos. If you uploaded a photo of the property when you checked in, it already appears in the Address Verification section.
Tap Take Photo to take a photo on your phone, then tap Use Photo. When you take a photo, a new album called Motili is automatically created and the photo is stored there.
Tap Photo Library to open the library that contains an existing photo and select it.
You can add a description and tap Upload.
Step 3
Tap Add to upload any other required photos. You must submit before and after photos of all equipment and parts that you replace. Include multiple photos if needed to show all the work you did. Each photo you add to a work order must be unique, so don't reuse photos. If you are not satisfied with the photo you uploaded, tap the photo and tap Delete Photo.
Step 4
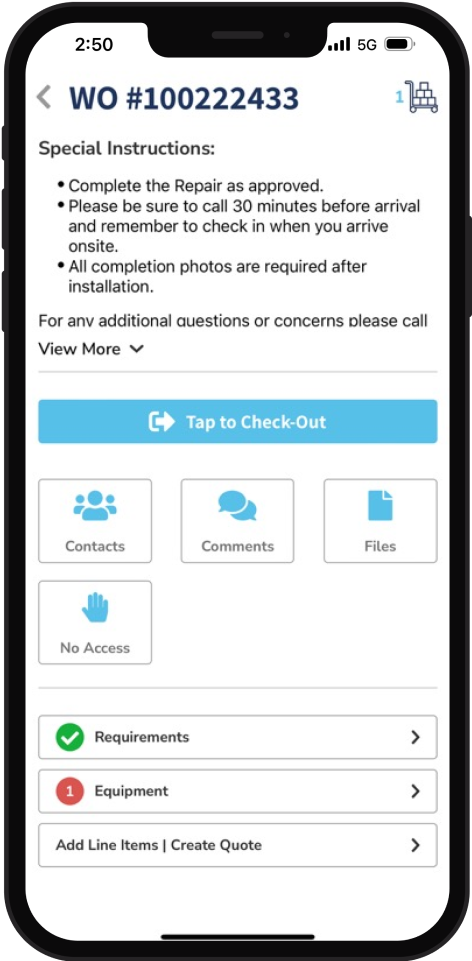
If you have questions while you are on site or updating the work order, reach out to the contacts listed on the work order. In the work order, tap Contacts, then tap the email. You can also tap Comments on the Home Page to send a comment to your Motili Representative.
Step 5
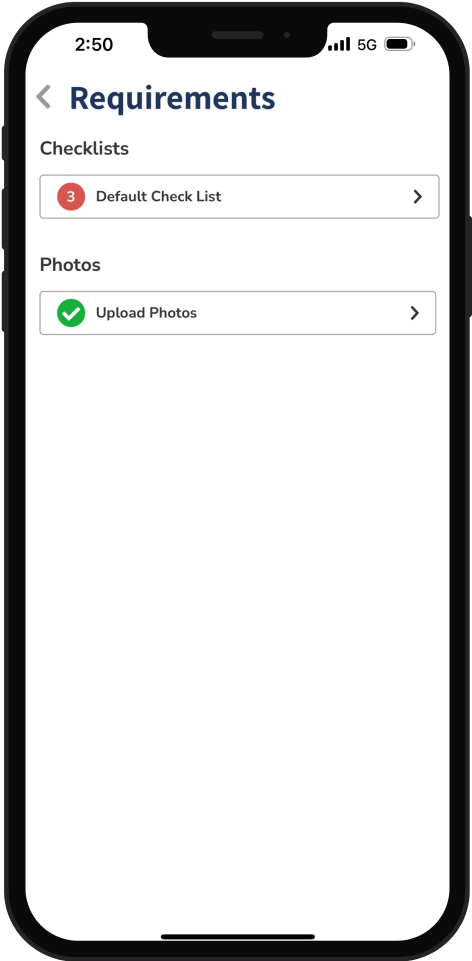
When you are done uploading photos, tap Back. The Requirements section now contains a green check mark.

Complete a Checklist
If a checklist is required, it appears in the Requirements section. Perform these steps after you locate the work order and check in.
Checklists can include routine and non-routine tasks to ensure the system does not suffer any drastic failures.
Step 1
In this example, checklists are required for this property. Tap the checklist and review the tasks.
Step 2
After you perform each task in this checklist, tap Complete. If you are interrupted, tap Save. If an item in the checklist does not apply to your job, tap Not Applicable (N/A) and then tap Complete.
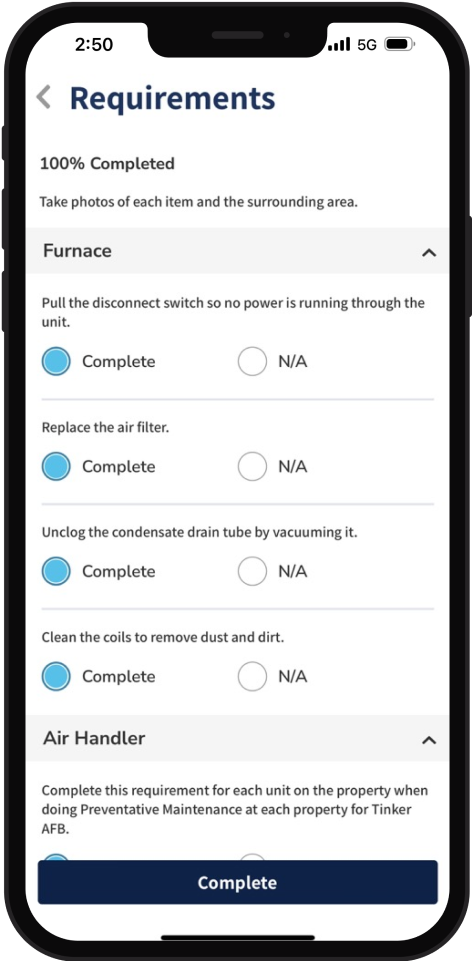
Step 3
Complete each checklist and then tap Back. A green check mark appears next to each completed checklist.
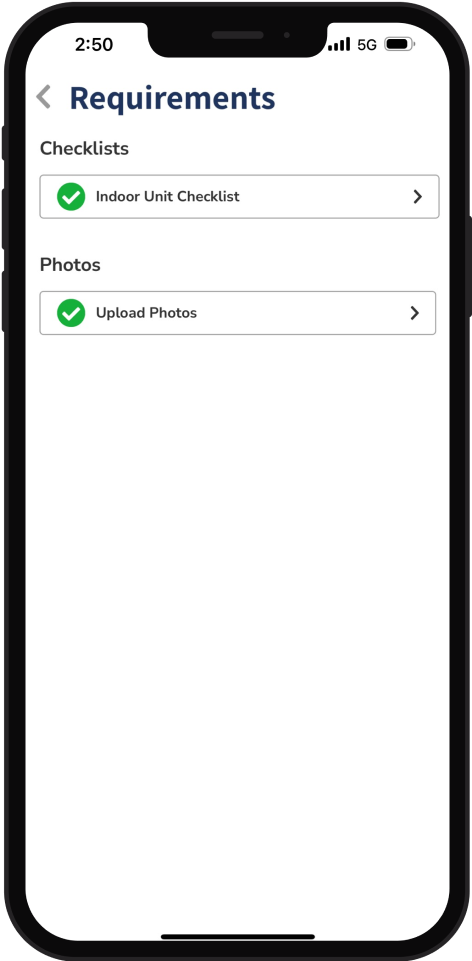
Step 4
After you complete all the requirements, the Requirements section contains a green check mark.
Add Files
You can attach supporting documentation, such as work permits, warranty information, owner's manuals, and receipts to the work order in the Requirements section.
Step 1
In the work order, tap Files.

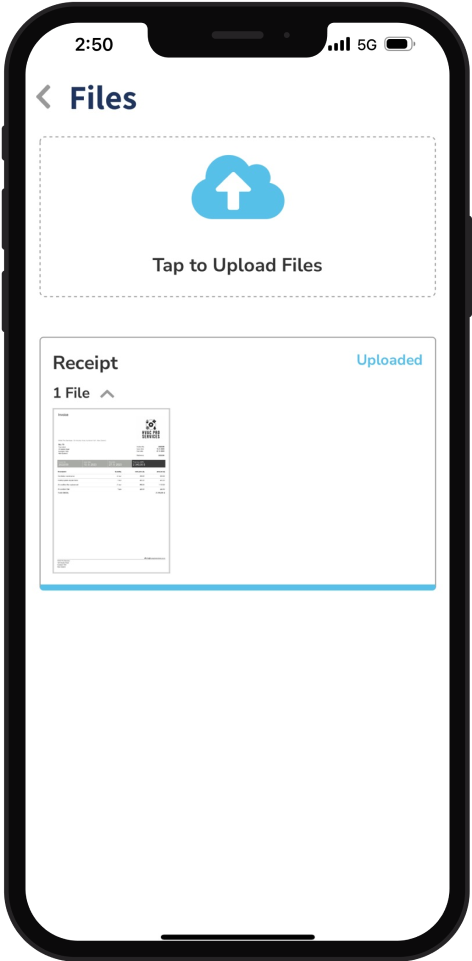
Step 2
Touch Tap to Upload Files and choose one of these options:
Take Photo
Photo Library
Browse (choose this for a document)
Step 3
Tap Assign Photo and choose the type of file:
Reciept
Permit
Owner's Manual
HVAC Inspection Checklist
Equipment Warranty
Step 4
Type a File Name and tap Upload.

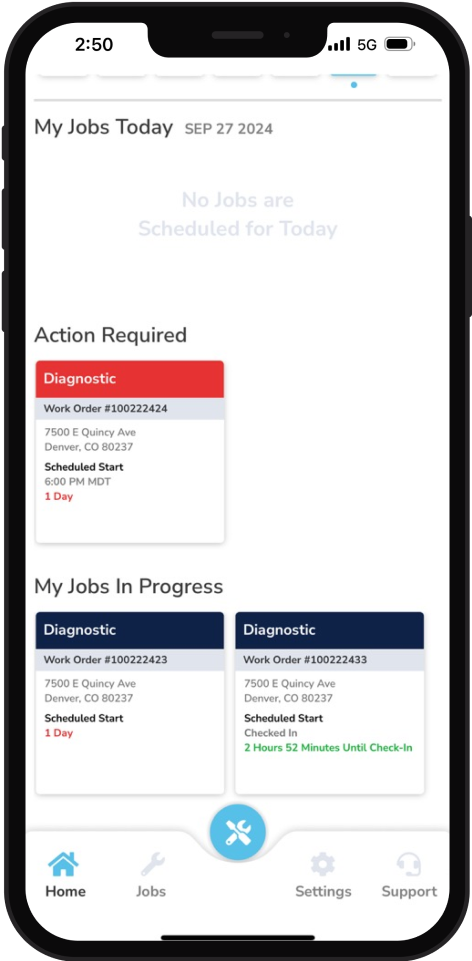
Tip: If there’s a problem with a work order or the work order requires scheduling, the work order moves to the Action Required Section on the Home Page. Work orders in this section need your immediate attention. If you don’t have any work orders that have issues, the Action Required section does not appear.
If equipment identification is also required for the job, see Identify Equipment
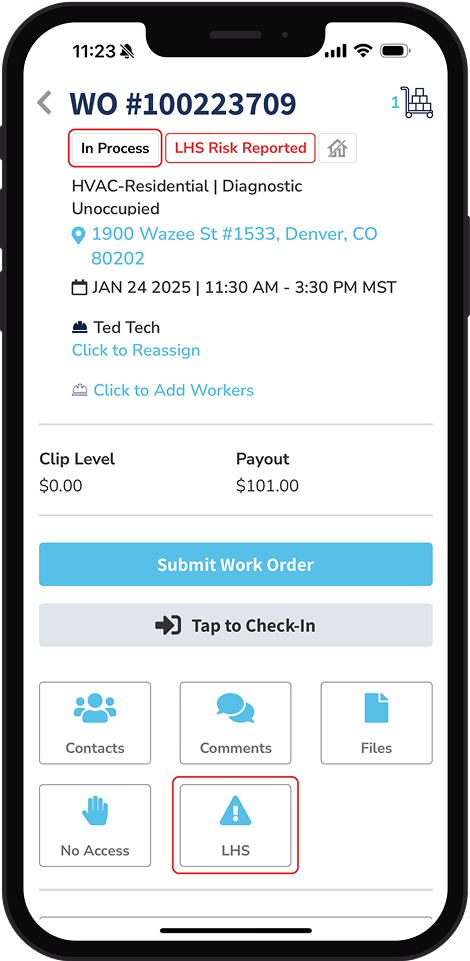
Identify LHS
If the job has a reported Life Health Safety (LHS) risk, the LHS badge displays for work orders with a status of Dispatched, Scheduled, or In Process. You can tap LHS to edit the risk on the job. If there is no LHS risk reported for this work order, you can add one by tapping LHS and completing the fields.
Tip: If there’s a problem with a work order or the work order requires scheduling, the work order moves to the Action Required Section on the Home Page. Work orders in this section need your immediate attention. If you don’t have any work orders that have issues, the Action Required section does not appear.
If equipment identification is also required for the job, see Identify Equipment.